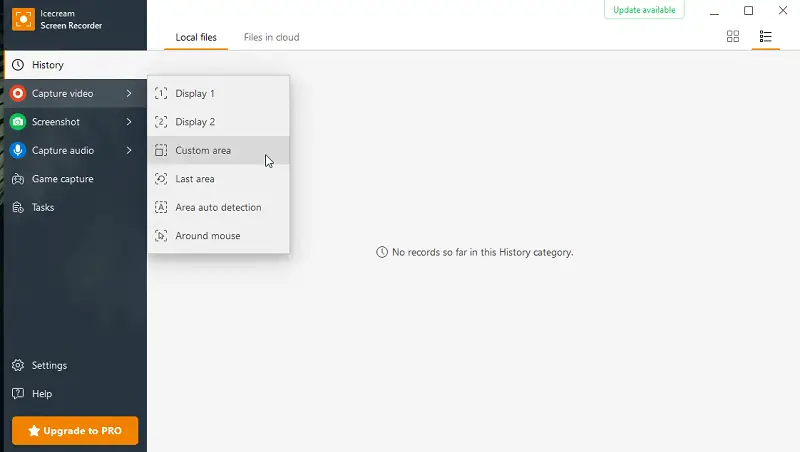
How to Trim Videos in Icecream Screen Recorder
Whether you're a content creator, educator, or business professional, the need to refine and trim your video recordings is paramount for conveying your message effectively.
Fortunately, with the advancement of technology, screen recording software has evolved to offer not just the capability to capture desktop activities but also powerful editing features, including video trimming.
This article serves as your comprehensive manual for mastering video trimming specifically with Icecream Screen Recorder.
Please be aware that currently, this feature is accessible only for Windows users. It allows cutting sections from the beginning and end of videos exclusively.
Read on to learn more about how to use this feature.
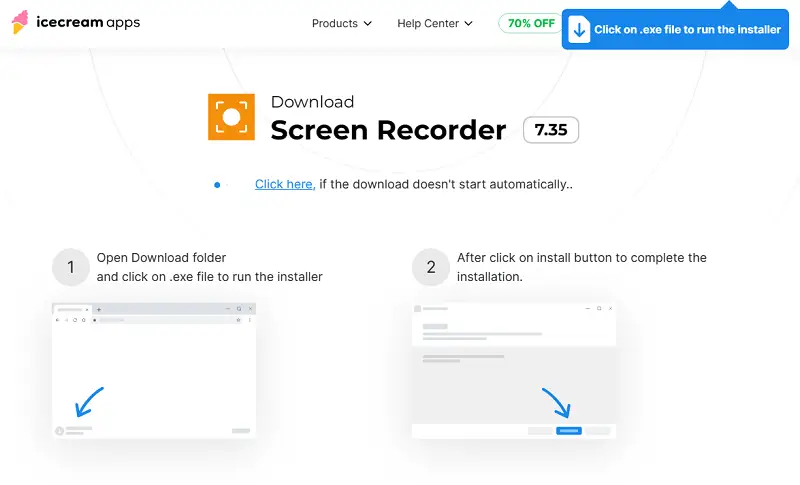
1. Download and install Icecream Screen Recorder
Download screen recorder for PC from our website. Launch the screen recording software right away as soon as the setup is complete. Simply double-click the desktop icon or find it through your Start menu.
2. Record a video
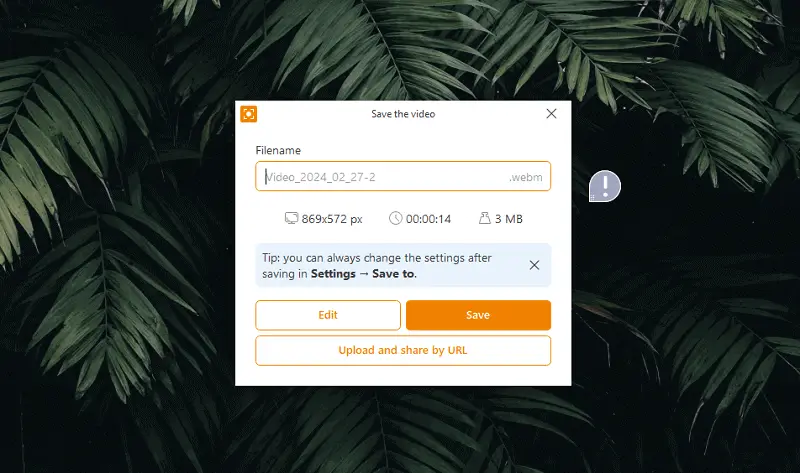
Begin the screen recording process, and when finished, click "Stop". A pop-up window will appear with options for what you can do with the recording. Select "Edit" to proceed.
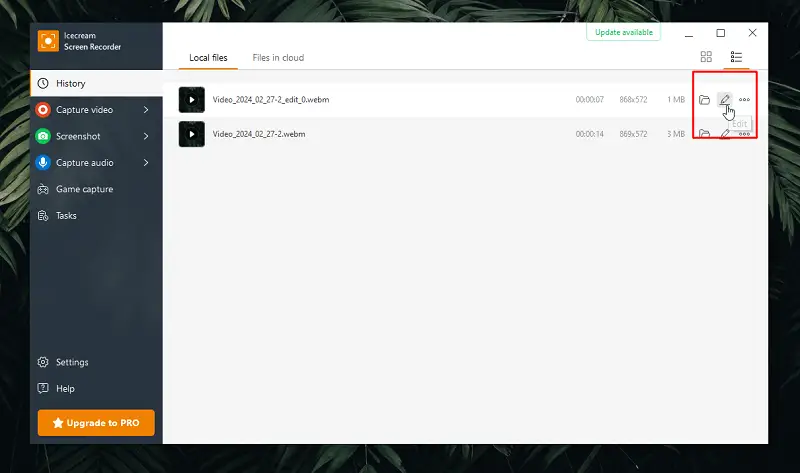
Icecream Screen Recorder also allows you to edit previously captured video. To do so, navigate to the "History" panel. Once there, click the pencil button to start the trimming process.
3. Trim the video
Now, the chosen video appears in a new window. Take note of the labels on the left and right sides of the timeline; these are the tools for adjusting the clip's start and end points.
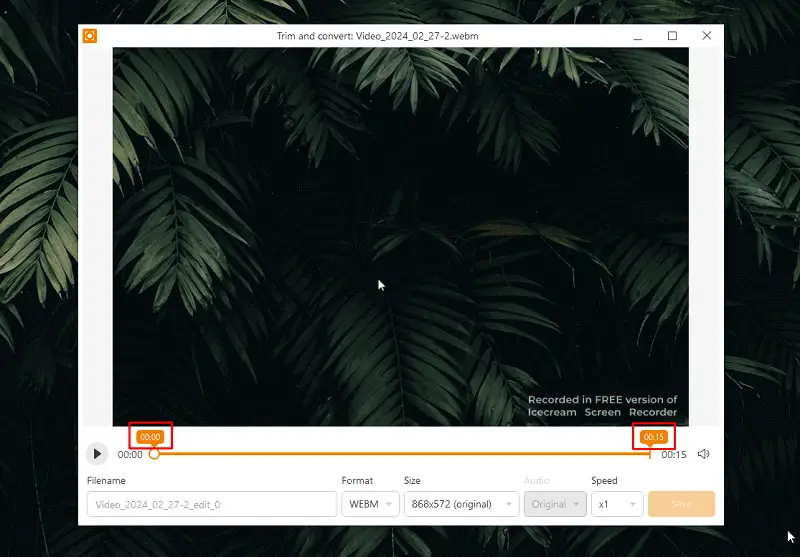
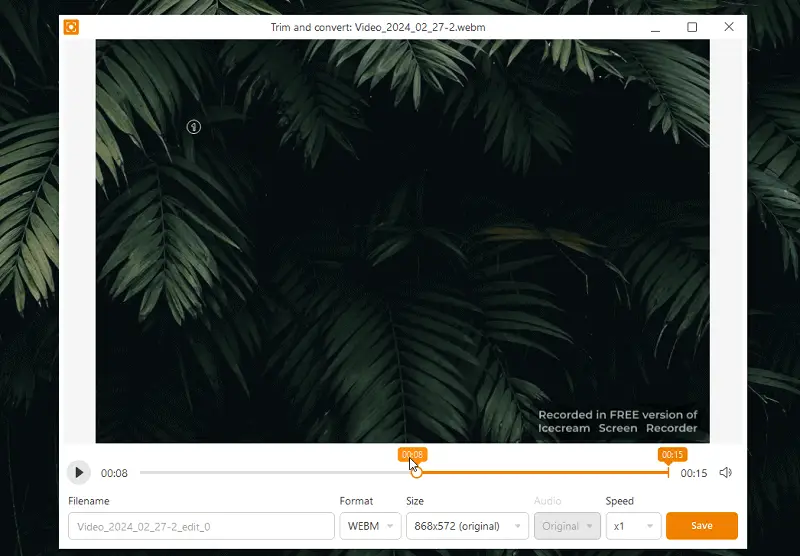
Hover your mouse cursor over either of these labels. Then, click and hold the left mouse button, dragging the selected label to the desired position on the timeline.
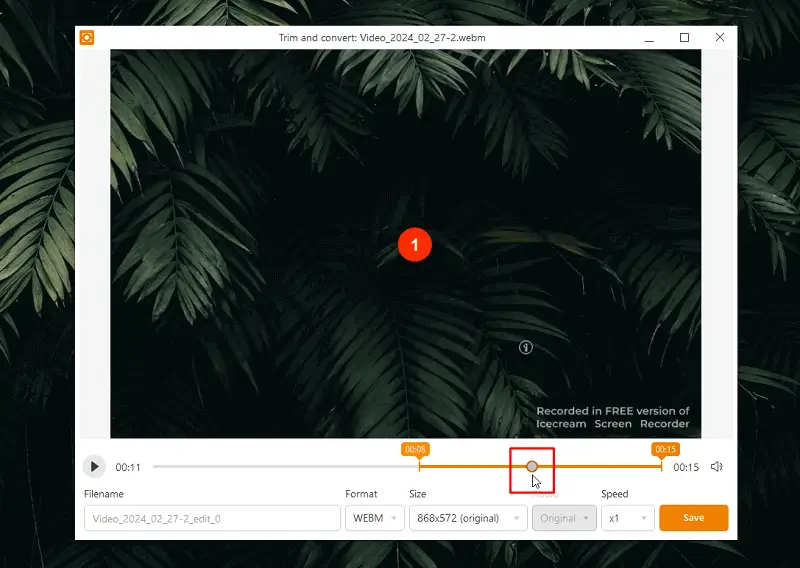
The round marker situated on the video timeline indicates the start of playback. Position it to initiate playback from the desired moment, using the "Play" button for assistance.
4. Apply the changes
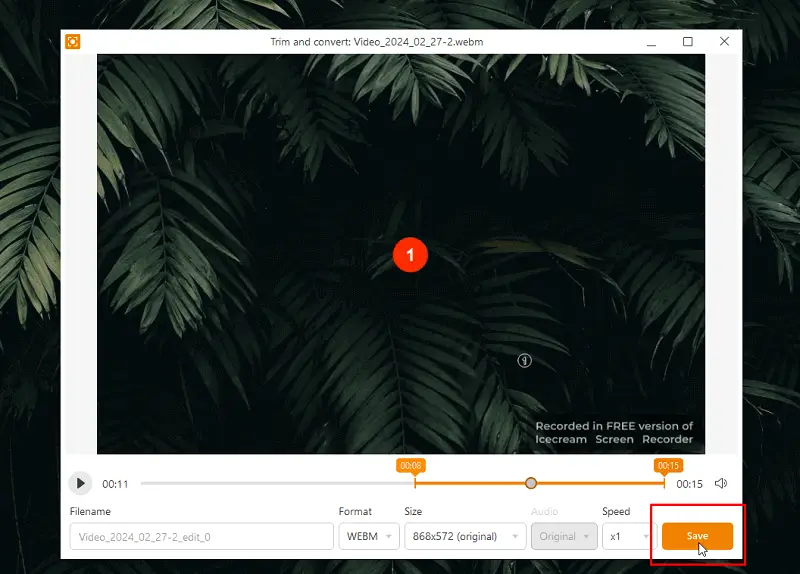
Once you've positioned both labels correctly, hit "Save" to implement the edits and obtain the newly trimmed video.
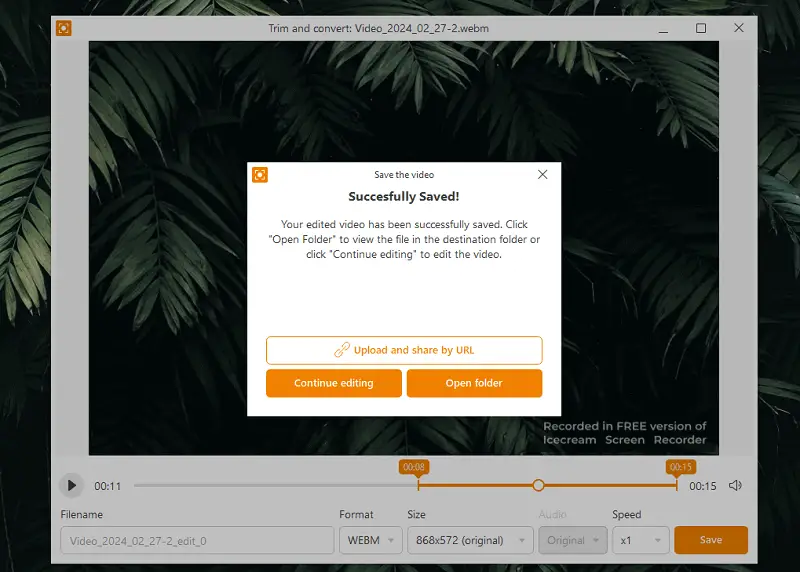
Upon completion of the video modifying and applying the changes, a new pop-up window will emerge. Click the "Open folder" button to locate the processed video. Alternatively, select "Continue editing" to resume editing video.
Reasons to trim videos
- Eliminate unwanted segments like errors, pauses, or irrelevant shots.
- Enhance the flow by cutting slow or dull parts.
- Emphasize significant scenes by focusing on crucial moments.
- Decrease file size for easier distribution and quicker playback.
- Strengthen storytelling by making the content more impactful.
- Adapt footage to meet specific platform duration limits.
- Fix synchronization issues between visual and audio elements.
Tips for trimming videos
- Remove unnecessary pauses or fillers to keep the pace engaging.
- Preview before finalizing to check the timing and flow of edits.
- Add fade-in/out effects at cuts to make transitions smoother.
- Use slow motion or speed up certain sections if you need to highlight or condense parts.
- Keep the original copy of your footage saved separately in case you need to re-edit or restore parts later.
- Utilize jump cuts strategically to maintain viewer interest without disrupting the narrative flow.
- Adjust the audio levels to ensure consistent sound quality throughout the trimmed video.
FAQ on how to trim videos
- Is Icecream Screen Recorder free?
- It offers both a free version and a paid pro subscription with additional features.
- Will video trimming affect the video quality?
- Trimming is a non-destructive edit, so it will not impact the quality of the remaining clip.
- Do I need an internet connection to trim videos?
- No, once the software is installed, using it does not require an internet connection.
- How do I contact support if I encounter issues?
- If you can't find the answer to your question in the help center, you can describe your problem via email.
- Does trimming affect the audio synchronization?
- No, the software maintains perfect audio-video sync, so the sound remains aligned with the visuals.
Conclusion
In conclusion, trimming videos is a straightforward and effective way to refine your recordings and focus on key content.
By following the simple steps outlined—importing your video, setting start and end points, and applying the trim—you can easily remove unwanted sections and cut videos and enhance the overall quality.
Whether you're looking to cut out mistakes, shorten a long recording, or highlight specific moments, Icecream Screen Recorder provides an intuitive toolset that ensures your final product is polished and professional.


