How to Set Screen Recording on a Timer
Knowing how to set a timer on screen recording can prove valuable to numerous users. Whether you want to maintain fixed video lengths for content creation or simply need hands-free recording, mastering this timer feature can significantly improve your workflow.
In this article, we'll walk you through the easy steps to make your screen capturing process smoother and more organized. We'll show you how to set specific screen recording times, keeping your recording tasks more organized.

How does a screen recorder with timer work
You set a duration for the video, for instance, 5 or 30 minutes. Once the timer reaches zero, the screen recording will automatically stop.
This feature is useful if you want to screen record for a set period without needing to manually end the process.
Plus, if you’re rehearsing a presentation or a pitch, setting a timer helps ensure you stay within the allotted time. For instance, you can stop the screen capturing at the 10-minute mark to adjust your content to fit within the time frame.
How to set a timer on screen recording
Recording your screen can be a great way to capture important information or create helpful tutorials. However, the task can be time-consuming. That's why it is essential to possess the capacity to finish the capturing automatically within a certain period of time.
That's where Icecream Screen Recorder comes in - it makes the whole process easy. With this video recorder, you can finish your videos within a set time, saving you effort and time.
How to use a timed video recorder in Icecream Screen Recorder:
- Download the free screen recorder for your Windows computer. Install and launch it.
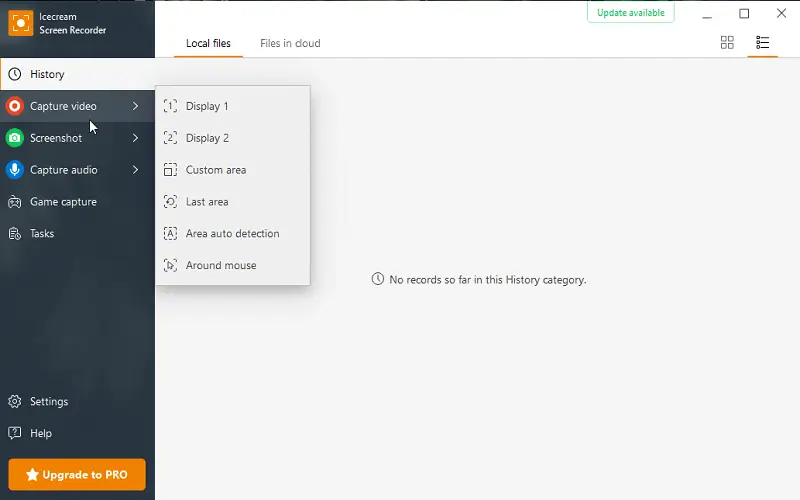
- Select the recording mode. This screen capture software offers the following options:
- Custom area. Manually choose the recording area by drawing a frame with your mouse.
- Display. The screen recording software selects the full desktop to be captured. If you have multiple monitors, then you get to select which one you want to shoot.
- Last area. The previously captured area is selected automatically by the program.
- Area auto-detection. The screen recorder gives you an area auto detection tool to easily select windows and other elements on the desktop.
- Around mouse. An area of a selected preset size is moved around the mouse cursor.
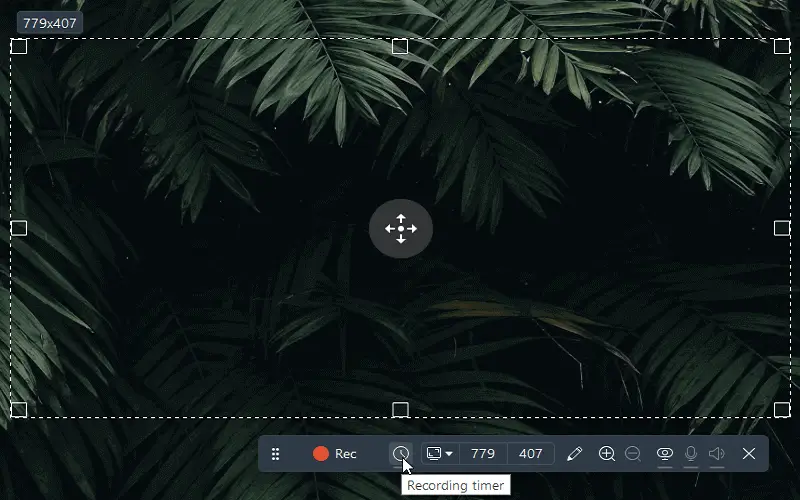
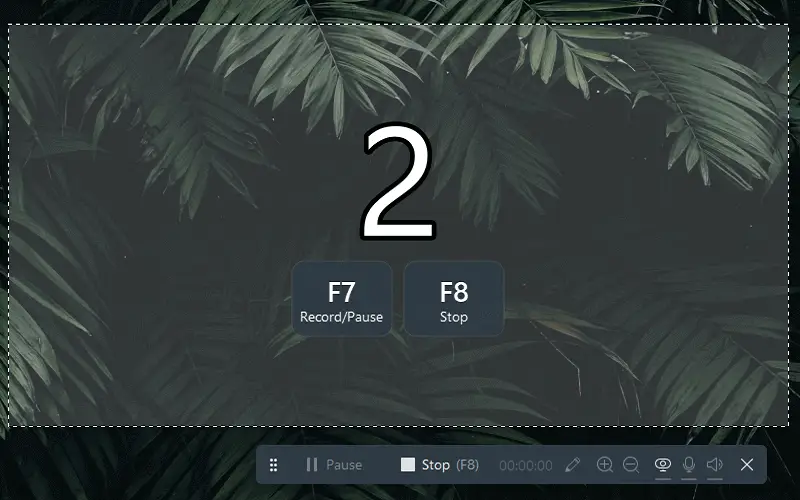
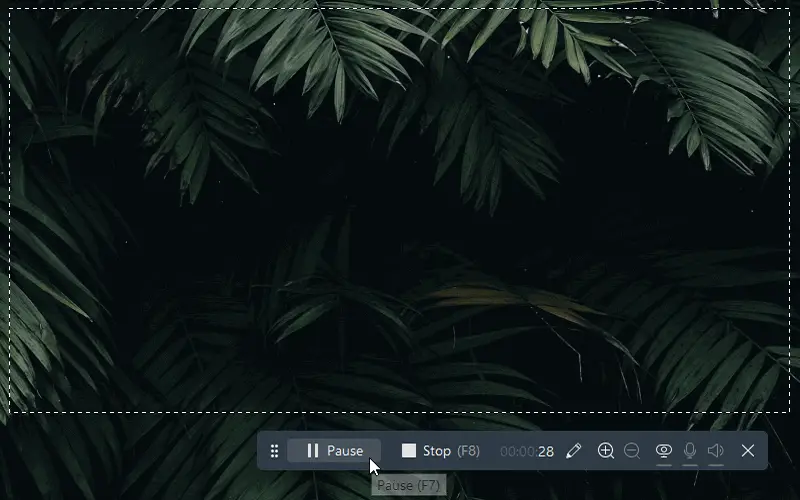
- Hit the "Recording Timer" button to open the settings for screen capturing.
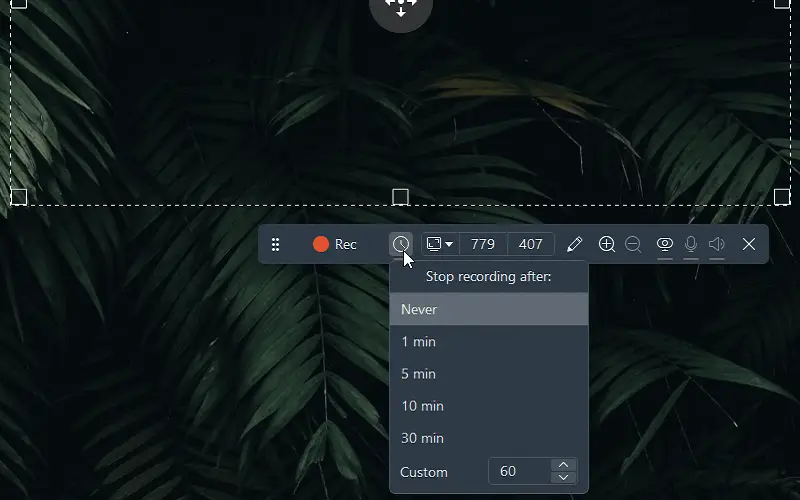
- Pick the time after which the recording should stop. There are preset options available, such as 1, 5, 10, and 30 minutes. Select the "Custom" option to enter your own value.
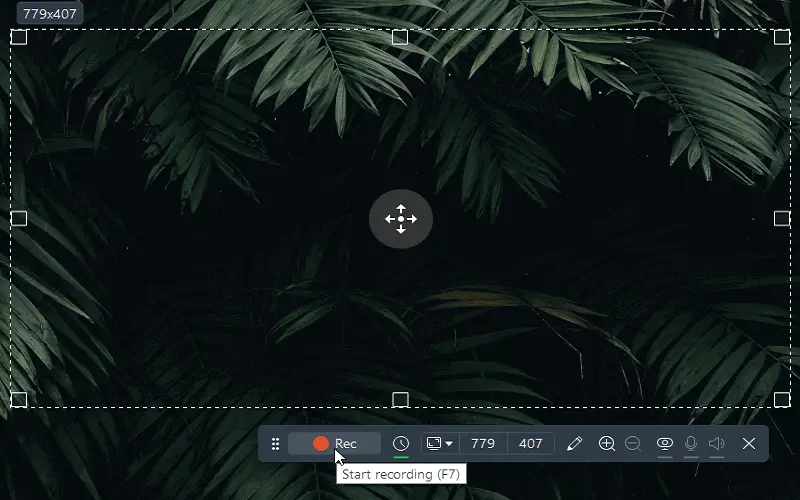
- Click the "Rec" button to start recording. It will stop after the specified time.
This screen recording software offers several benefits:
- Easy setup. Setting up a screen capture timer is straightforward with only a few clicks of your mouse.
- Flexible recording options. You can easily customize your video recording session with flexible options such as recording an area of the screen.
- High-quality clips. The free video recorder generates top-notch videos at up to 1080p resolution, guaranteeing that they appear sharp and professional.
- Instant playback. After recording you can instantly watch back the videos directly in the program itself, so there is no need to waste time searching for them on your computer afterward.
- In-built editor. You can modify the output result right in the recorder without a need to download any third-party video editors.
Icecream Screen Recorder is user-friendly, so you can focus on your content instead of dealing with technical stuff. It's like having a helpful sidekick for your screen recording tasks, making sure they're not just informative but also hassle-free.
Simplify your screen capturing with this recording timer designed for productivity and ease.
Advantages of using a screen recorder with a timer
Utilizing a free screen recorder for Windows with an integrated timer can be highly advantageous for various reasons. Here are some of the benefits:
- Enhanced efficiency. By using a timer, you can initiate screen recordings and walk away, allowing the process to run autonomously. This is useful if you need to capture content while attending to other tasks or stepping away from the computer.
- Improved organization. Timed screen captures enable you to schedule when the video should start and stop. This can be advantageous for planning ahead, ensuring that you capture specific content during designated time slots.
- Conservation of resources. Automated timers prevent the recording of unnecessary footage, saving storage space and reducing the need for editing to trim excess content.
Overall, scheduling a recording can be extremely beneficial in terms of improved efficiency, organization, workflow, productivity, and reduced stress levels. This makes it an ideal choice for anyone looking to optimize their workday.
Tips on setting a recording timer
- Plan ahead. Create a script before starting the video recording. This will help you estimate the time required for each segment and stay within your desired time frame.
- Record in segments. Instead of recording a lengthy session, break your content into smaller segments. Capture each segment separately and combine them later. This approach makes it easier to manage time and edit if needed.
- Consider editing. Even with a timer, you may need to trim your recording for a polished final product. Be prepared to cut unnecessary sections and refine your content during the video editing process.
Troubleshooting common issues
| Issue | Solution |
|---|---|
| Timer doesn't start | Double-check the settings; restart the software. |
| Timer stops unexpectedly | Update the program to the latest version; ensure no interruptions during recording. |
| Timer isn’t visible during recording | Check display parameters; ensure the overlay is enabled. |
| Timer doesn’t sync with recording start | Adjust the software’s sync settings or manually align the timer with the video. |
| Timer resets unexpectedly | Close unnecessary apps; ensure your system has enough resources for smooth operation. |
| Timer shows incorrect time | Verify the system clock and reset the timer settings in the app. |
Checklist on setting screen recording on timer
- Verify the start time and duration are set accurately.
- Disable or silence alerts, pop-ups, and background apps.
- Arrange your desktop or active windows for a clean layout.
- Confirm audio input is functioning and levels are balanced.
- Free up disk space to prevent interruptions.
- Plug in your device or ensure it's fully charged.
- Adjust display settings for optimal visual clarity.
- Perform a brief trial run to check for any issues.
FAQ
- Can I record sound while establishing a time limit for my screen recording?
- Yes, you can record sound along with the screen if your device has a microphone.
- Is it possible to pause or stop a timer during a screen capture?
- Yes, you have the ability to pause or finish the recording before the time's up.
- Does timed recording impact video quality?
- No, the timer controls the duration of the recording, ensuring that it stops when needed, but it does not affect the quality of the captured content.
- Is there a recommended duration for timed screen recordings?
- It depends on your specific needs and the content you are creating. Scheduled recordings are versatile and can be customized to suit the nature of your project.
- What if my computer goes to sleep during a timed video recording?
- To avoid interruptions, ensure that your computer's sleep or screen-saver settings are adjusted to allow uninterrupted timed recordings. Refer to your PC's power settings for customization.
Conclusion
In conclusion, mastering screen recorder with a timer like Icecream Screen Recorder offers a number of benefits, from precise video lengths to efficient hands-free operation. The flexibility to schedule recordings and save storage space adds to the overall convenience of the process.
Use this feature to enhance your content creation experience and add a professional touch to your recorded material. Streamline your screen recording today for a smooth and polished result.


