How to Resize Screenshots Without Losing Quality
Resizing images can be done quickly and efficiently with the right tools and techniques.
Whether you need to make them smaller for an email attachment, adjust dimensions for a website, or crop and scale for a presentation, knowing how to resize screenshots properly ensures your pictures stay clear and professional.
In this guide, we’ll walk through different methods, from built-in device features to powerful software, so you can pick the approach that suits your needs best.

Why you might need to resize screenshots?
Email and Messaging Restrictions
High-resolution captures can exceed attachment limits in emails or chat platforms. Scaling images down allows quicker sharing and avoids automated compression that reduces clarity.
Web and Social Media Requirements
Many platforms have recommended width and height specifications. Modifying the measurements of a screenshot ensures it displays properly and maintains a professional appearance online.
Printing and Document Layouts
When incorporating visuals into reports, manuals, or slideshows, altering their scale helps them fit neatly on a page or slide without trimming away important details.
Conserving Storage Capacity
Oversized photos can take up considerable space on a hard drive or cloud service. Reducing their resolution can reclaim storage while keeping them clear enough for practical use.
Consistency in Visual Projects
For guides, tutorials creation, or training materials, keeping screenshots uniform in dimensions improves readability and gives the final work a polished, cohesive look.
How to resize a screenshot
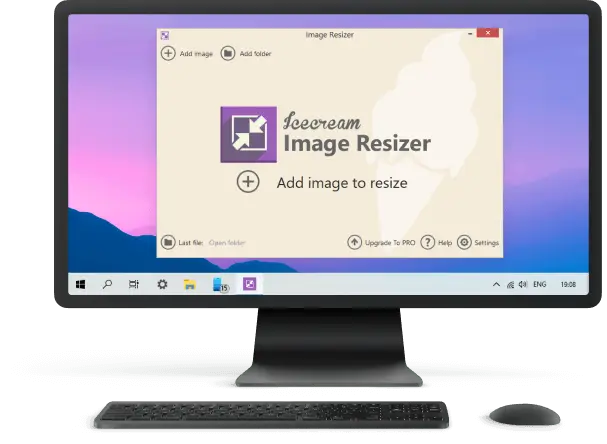
Icecream Image Resizer (Windows)
This lightweight program makes scaling straightforward. After launching the free image resizer, drag and drop your file into the workspace, choose a preset dimension or enter custom values, and confirm the changes.
It also supports bulk processing, letting you modify several captures at once without losing clarity.

Pros:
- User-friendly interface with drag-and-drop support
- Batch resizing for multiple screenshots
- Maintains high quality after changes
Preview (macOS)
The built-in app offers quick changes without installing extra software. Open your screenshot, go to Tools > Adjust Size, enter the desired width and height, and save the updated version.
You can lock the aspect ratio to prevent distortion.

Pros:
- Image resizer already included with macOS
- Simple process for quick adjustments
- Aspect ratio lock to avoid stretching
Cons:
- No batch option to resize photos
- Few additional image editing features
iLoveIMG (Online)
A convenient browser-based tool for quick edits. Upload your screenshot, select the new measurements, and download the adjusted result.
This option is ideal when you need to reduce image size on a device without dedicated software.

Pros:
- Works on any device with a browser
- No installation required to resize images
- Supports multiple formats
Cons:
- Photo resizer requires an internet connection
- Upload limits for free use
- Potential privacy concerns with sensitive screenshots
Tips for maintaining quality when resizing
- Keep the aspect ratio locked to prevent distortion or unwanted stretching.
- Select formats that retain crisp details, such as PNG for screenshots with text or sharp graphics.
- Avoid significant enlargement, as this can cause visible pixelation.
- When reducing dimensions, make gradual changes rather than extreme downsizing.
- Opt for tools that apply high-grade resampling options for better clarity.
- Save an untouched version of the original capture in case you need to restore it later.
- For web-based services, verify that no hidden picture compression is applied during processing.
- Examine the adjusted result closely before saving to ensure everything remains readable.
Conclusion
If you know how to resize images, this doesn’t have to be a tedious task.
By using the right method for your device and purpose, you can maintain clarity while getting the exact dimensions you need. Whether you choose a quick built-in option or a more advanced tool, the key is balancing screenshot size, quality, and usability.
With these steps, you can handle the process confidently and efficiently.

Editor-in-Chief at Icecream Apps
