Expert Tips for Video Recording Yourself
Shooting great videos of yourself isn’t only for influencers anymore. These days, anyone can do it. Maybe you’re building your brand, leading a remote team, or want to share what you know with the world. Whatever the reason, mastering the art of recording yourself well really pays off.
Here, you’ll find 11 practical tips for filming yourself. We’ll talk about getting your lighting right, nailing your setup, and even editing your footage so everything turns out sharp. With these recommendations, your motion won’t look good - it’ll keep people watching.
1. Software
Not all programs are created equal. Some just get the basics done, while others give you crisp audio and vivid visuals that actually resemble and sound superior.
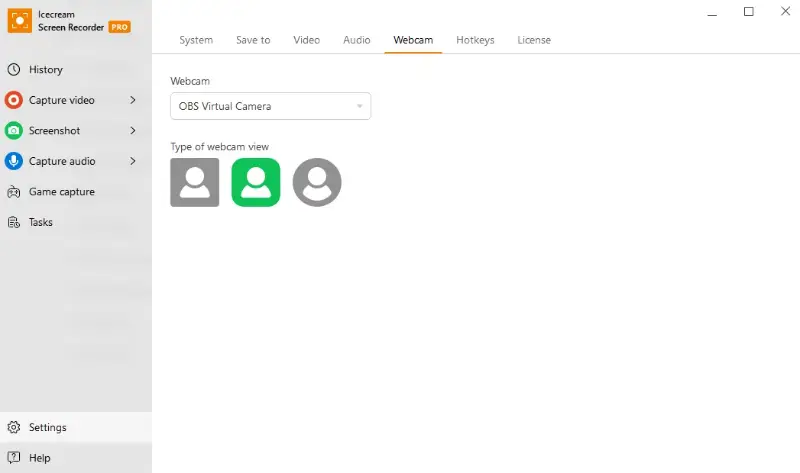
Take Icecream Screen Recorder for example. It’s one of the top picks out there, mostly because it’s so easy to use. The interface feels natural, so you don’t have to hunt around for features. A few clicks and you’re taping - no complicated setup, no stress. If you’re getting started, you’ll appreciate how painless it is.
This free video recorder can grab both system noise and your mic at the same time. That’s a lifesaver for anyone making tutorials, walkthroughs, or podcasts. You can even catch your webcam, voice, and whatever’s happening on your monitor, all at once.
Need to explain something or call out details? The annotation tools have your back. You can draw, highlight, add shapes, or drop in text. It’s especially handy for teaching, training, or walking someone through a tricky process.

2. Lighting
Good lighting instantly helps your video seem polished. It pulls everything together - colors look true, your face pops, and you avoid those weird shadows that make things feel off.
This isn’t about seeing your expression; it’s how you get those rich, accurate tones and keep your broadcast from occurring dull or washed out.
Tips for video recording yourself with fine lighting:
- Pure light. Sit facing a window if you can. Nothing beats sunlight.
- Soft lighting. Go for diffused lights - like a softbox or a ring - to smooth out harsh shadows.
- Three-point lighting. This pro trick uses three sources: main, a fill to soften hue, and a backlight to help you stand out from the background.
- Skip direct light. Don’t point a lamp right at you.
3. Camera positioning
Keep the camera at eye level or a bit higher. You’ll appear more natural and it’s way more flattering. Skip the weird angles - no one wants to stare at your nose, and verify you’re sharply in focus.
Don’t get too close or too far from the lens. Aim for about 3 to 6 feet away. That way, your face fills the frame but doesn’t appear stretched or squished.
Employ a tripod or set your camera on something solid. A steady shot is a way better than shaky footage.
4. Framing
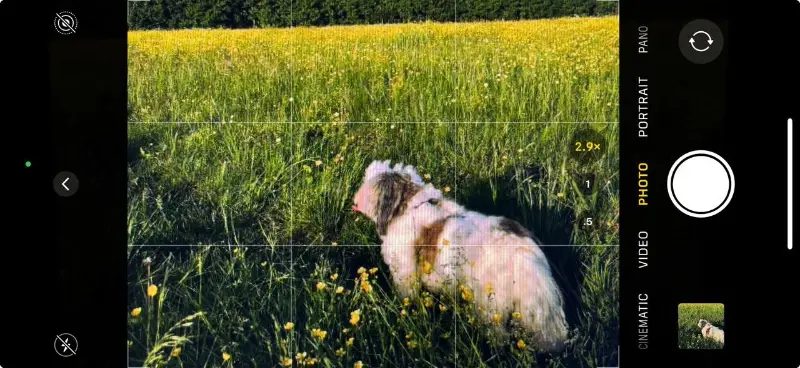
Picture your shot split into nine sections - kind of like a tic-tac-toe grid - using two lines across and two others down. Try highlighting important stuff (like your eyes) with those or where they cross. It comes off better, more balanced.

If you're glancing off to one side, leave extra space in that direction. It makes things feel more innate, like there’s room for your thoughts to go somewhere.
5. Background
Your background sets the vibe. Pick one that holds the center on you and doesn’t distract from what you’re saying.
A plain wall or a simple, neutral backdrop works nice if you want that clean environment. It’s perfect for interviews, training videos, or presentations - basically any time you want people to pay attention to you.
Want a bit more personality? Go for a space with some decor, but keep it chill. A plant, a bookshelf, maybe a cool lamp, but don’t overdo it. You want the elements to add something, not steal the show.
6. Sound quality
If you want your recordings to be great, start with a decent external microphone.
- USB are easy to use and give you nice, clear voice.
- XLR require an audio interface, but they’ll take your track up a notch.
- Lavalier (those little clip-ons) are perfect if you want to keep your hands free.
- Shotgun work best when you desire to focus on stream from one direction.
Pick a quiet spot. Stay away from rooms with traffic outside or lots of echo. Turn off fans, appliances, or anything else that could sneak noise.
Set your mic about 6 to 12 inches from your mouth. This distance lets you grab crisp audile without picking up those harsh pops from words like “pizza” or “banana” (like "p" and "b" sounds).
Be mindful of your volume. If it’s too high, you’ll get ugly distortion. Too low, and no one will hear you. Shoot for your acoustics to peak somewhere between -6 dB and -3 dB in your software. That way, your voice comes through loud and clear.
7. Clothing
Stick with solid colors. Patterns can get distracting, and you want people center on you, not your shirt.
Bright white? It tends to glare. Deep black? You lose all the details in the shadows. Your best bet is something in the middle - navy, gray, maybe a soft pastel. These shades almost always look good on camera.
Think about your background, too. If you’re shooting in a light-colored room, wear something darker or more vibrant so you pop. Got a dark backdrop? Go lighter with your clothes so you don’t blend in.
8. Practice and script
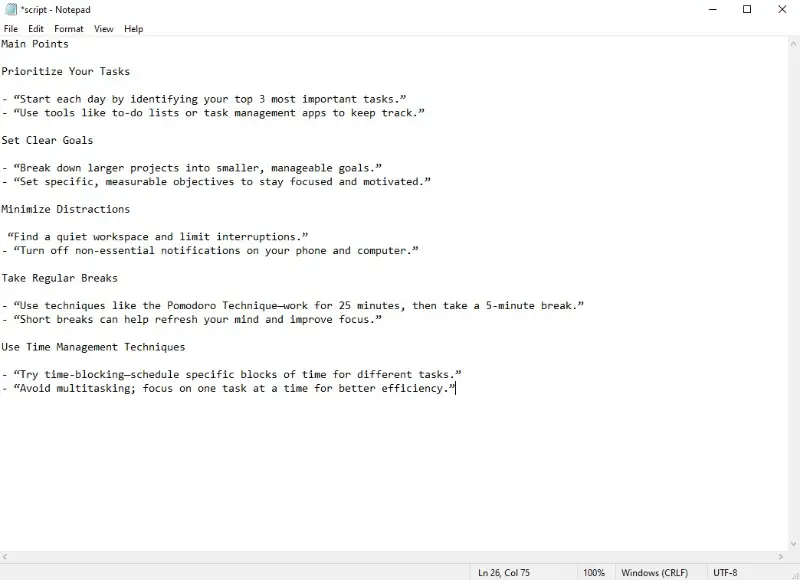
Hold your main ideas front and center while taking a clip. That’s what makes your message clear and easy to follow. Use a script or jot down a few bullet points - it upholds you on track and stops you from rambling. You’ll sound more confident, and your delivery feels smoother.

9. Body language
The way you move and hold yourself does a lot more than you think. It shapes how people see you and whether they want to listen.
How to use body language effectively:
- Sit or stand tall, shoulders back. You come off confident and people pay attention.
- Skip the slouching or getting too comfy - people notice, and it seems like you’re not interested.
- Keep your gestures natural. Dramatic, wild movements do nothing but distract.
- Make eye contact with the camera. It feels personal, like you’re talking right to your audience.
Let your expressions match your words. If the topic’s serious, dress the part. If it’s light or fun, loosen up and let that show.
10. Editing
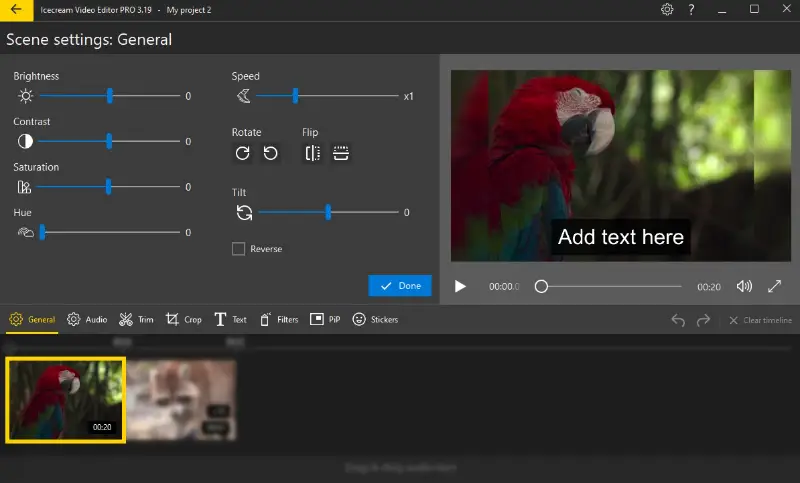
Post-production is where your creation really comes together. This is the stage that turns a bunch of raw clips into something your spectators actually wants to watch. It doesn’t matter if you’re starting out or you’ve been at it for a while - knowing how to modify well just makes everything look better.
First things first: pick a video editor that fits you. Your experience matters here.
- For beginners. Go for something simple, like Icecream Video Editor (great for Windows) or iMovie (for Mac folks). They’re straightforward and won’t leave you scratching your head.
- For advanced users. Time to explore the big leagues: Adobe Premiere Pro, Final Cut Pro, or DaVinci Resolve. These utilities give you all the bells and whistles for pro-level altering.
Create folders for different scenes to effectively organize your footage. For instance, if you’re working on a cooking tutorial, have folders labeled "Introduction", "Ingredients", "Cooking", and "Final Dish".
If you nail the basics, your visual will flow so much better.
- Cut and trim. Chop out awkward pauses, mistakes, or anything that drags down the pace. Don’t be afraid to cut ruthlessly.
- Transitions. Use simple ones to move smoothly from one scene to the next. Don’t overdo it.
- B-roll. Throw in some extra shots to bring context or cover up rough tweaks. B-roll maintains things interesting.
- Background music. Add some tunes to set the mood. Verify it doesn’t overpower your voice.
- Filters. A little bit goes a long way. Utilize effects to boost your shot’s appeal, but don’t let them steal the show.

11. Eye contact
Make sure to look directly at the camera to create a connection with your audience. It helps convey confidence and keeps viewers engaged.
If you're using a script, refrain from lowering your gaze for too long. Instead, try to glance occasionally and keep your gaze focused on the camera.
FAQ on recording yourself
- Why does white balance matter, and how do you set it?
- It keeps your colors true to life. Different lights - think daylight vs. those yellowish room bulbs - change how tones appear in your movie. Set balance manually or pick a preset that matches your lighting, and you’ll avoid weird shifts.
- What bitrate should I use?
- For 1080p video, aim for 10–20 Mbps. If you’re shooting in 4K, go higher - 50–100 Mbps gives you sharp, clear recording.
- What’s the best focal length for filming yourself?
- Stick with a 35mm to 50mm lens if you want your face to be natural - no weird stretching or squashing. Wide-angle lenses, like those with a focal length of 16–24mm, can distort your appearance. Telephoto lenses, however, require you to stand much farther from the sensor.
Tips for video recording yourself: conclusion
Wrapping up, making great videos of yourself isn’t rocket science. Dial in your lighting, pay attention to sound, and find a good spot for your camera - these simple moves instantly polishes your creation.
Whether you’re putting together a step-by-step guide, sharing moments on social, or recording a slick presentation, these filming tips set you up for success. You’ll end up with footage that not only look and sound sharp, but actually get your point across.
So go on - grab your device, get your setup just right, and hit capture. You’ve got something worth sharing, and people are ready to watch.


