How to Take a Screenshot on Windows
One of the most important things to learn is how to screenshot on Windows if you use a computer with this OS.
Whether you are a seasoned user or just starting out, learning to screenshot is a great skill to pick up and will boost your productivity and communication capacities.
In this article, we will provide you with instructions and tips to help you create screenshots in different formats, and share them accordingly, whichever version of Windows you’re on. Read the information below to learn how to take a screenshot on a Windows PC.
What is a screenshot?
In our digital age, screenshots are becoming increasingly important for personal and professional use.
A desktop screenshot is an image of whatever is visible on your computer or device screen.
You can take a screenshot on pretty much any device – desktop, laptop, tablet, smartphone – and any operating system – Windows, macOS, iOS, Android. The steps for making screenshots are more or less the same on every system.
It is saved as an image file on your device, and can then be edited (e.g., cropped, text added), or emailed to someone else, among other options.
Screenshots offer a quick and reliable way to:
- Capture error messages or bugs when requesting technical support.
- Save a moment from a video call, game, or social media feed.
- Create how-to guides and video tutorials.
- Record temporary online content that might disappear later.
Option 1. Icecream Screen Recorder
Experience a revolutionary approach to capturing screenshots on Windows with Icecream Screen Recorder, offering a multitude of advantageous options.
With this screenshot-taking and screen recorder for Windows, you can capture video guides and tutorials and generate great-looking content for your website, Facebook account, and more. This is a great capture tool for collaboration as you can share images and videos via a shortcut.
How to make a screenshot with Icecream Screen Recorder
- Download screen recorder for PC and install it.
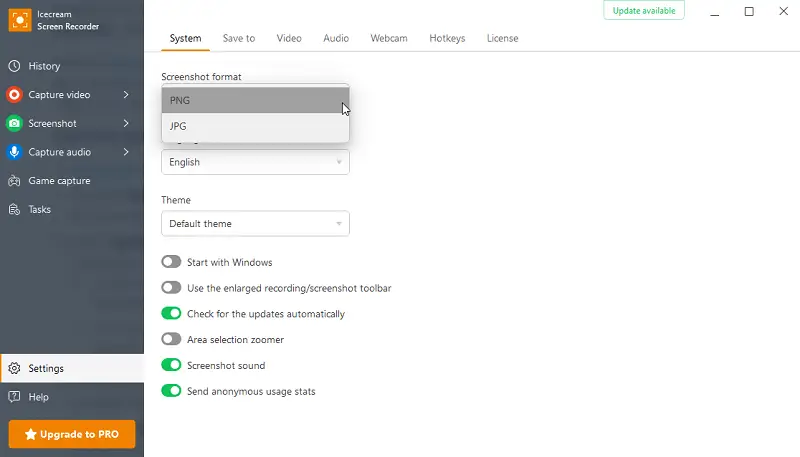
- Click the "Settings" button to open the instrument panel. Configure some settings required for successful screen capturing.
- In the "System" tab of the Settings panel select either PNG or JPG to save your screenshots ("Screenshot format" option).
- In the same tab, you may turn on and off the notification given to you ("Show notifications");
- The zoomer is highly a valuable tool during the manual screenshot area selection ("Area selection zoomer").
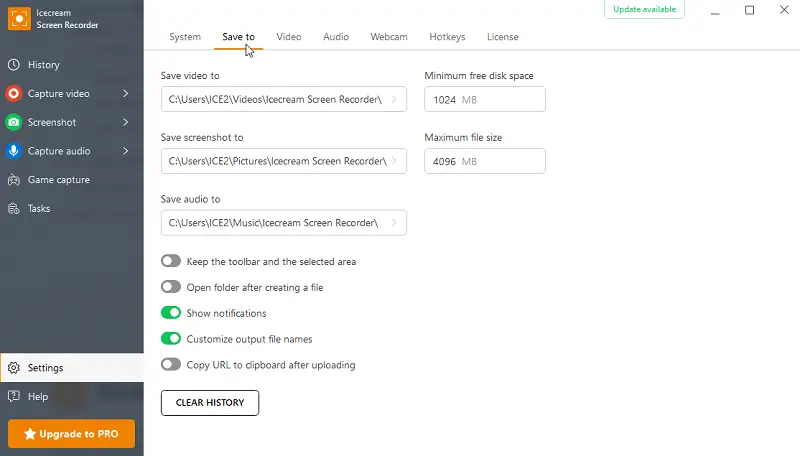
- Proceed to the "Save to" tab to select the destination folder to which your screenshot will be saved ("Save screenshot to" option).
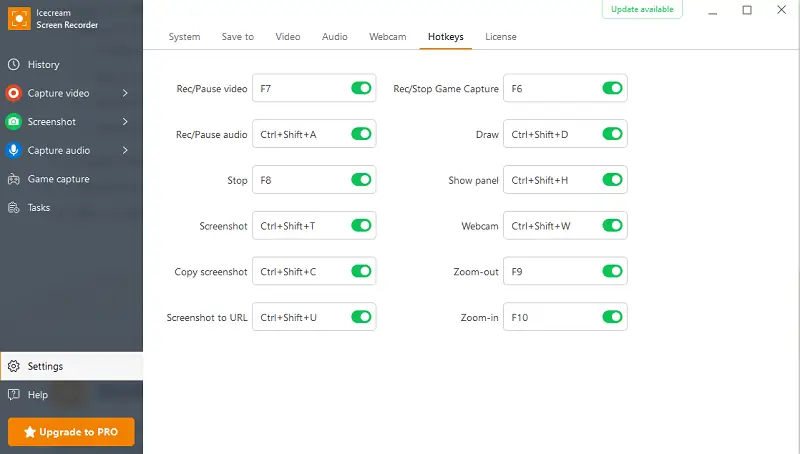
- Open the "Hotkeys" tab to check the current hotkeys and change their combinations if needed. You may use them to:
- Create a screenshot;
- Copy it into the clipboard;
- Upload by URL;
- Open the drawing panel, and do some other actions.
- To apply the changes made in the panel press "Save Settings".
- Choose the screenshot area. Read below about choosing the area for screen capture.
- Take a screenshot using either relevant buttons on the toolbar or with hotkeys.
Screenshot taking options
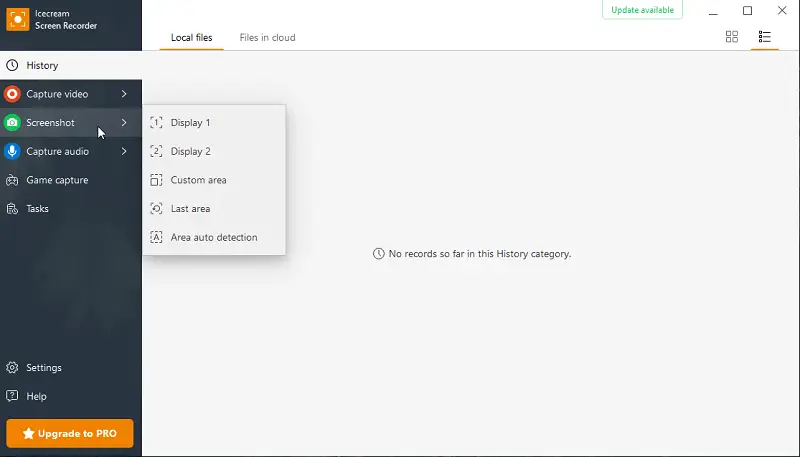
There are 3 ways to take a screen capture on Windows with Icecream Screen Recorder:
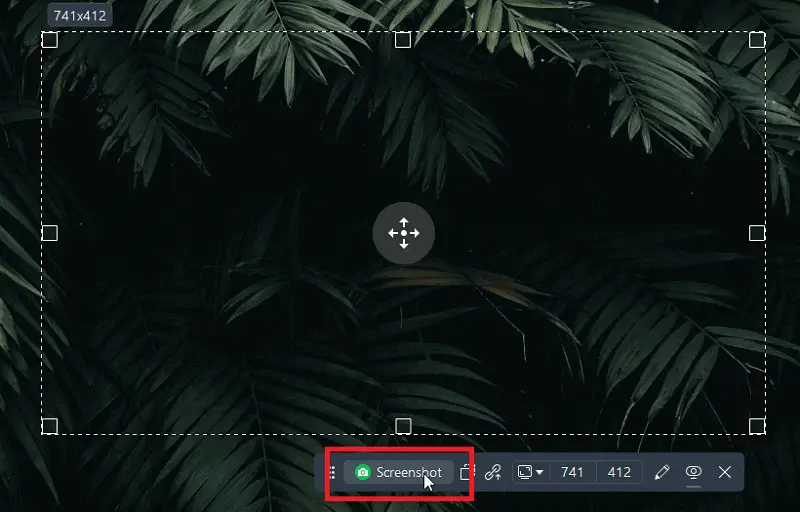
- Screenshot. If you want to save a desktop screenshot as an image in PNG or JPG, just click "Screenshot".
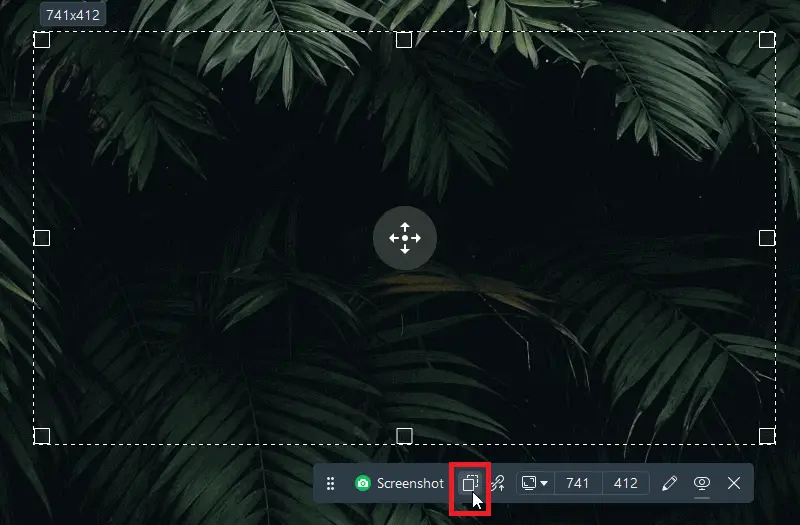
- Copy. After clicking this button, the screenshot will be saved to the clipboard. Now, you can press CTRL+V to paste it wherever you need.
- Upload. By clicking "Upload", you transform the screenshot into a link. That’s the best way to go if you wish to share your screenshot quickly with other people and don’t want to send it via email, instant messenger, or media.
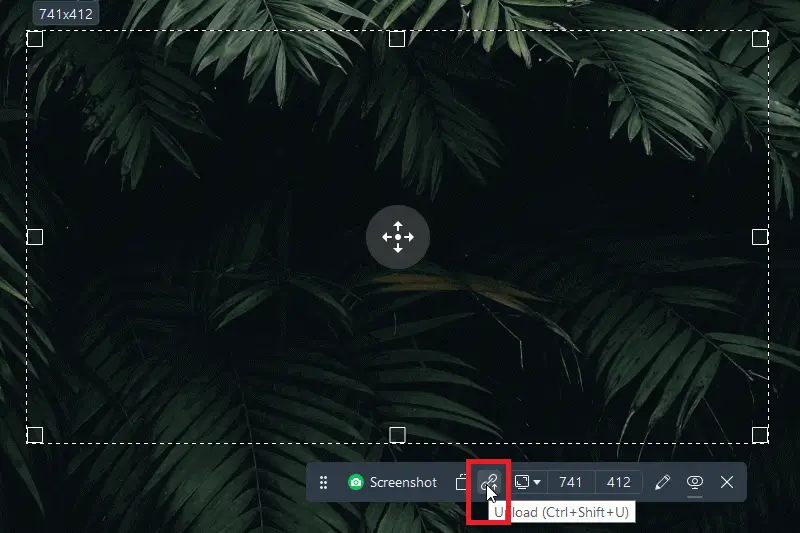
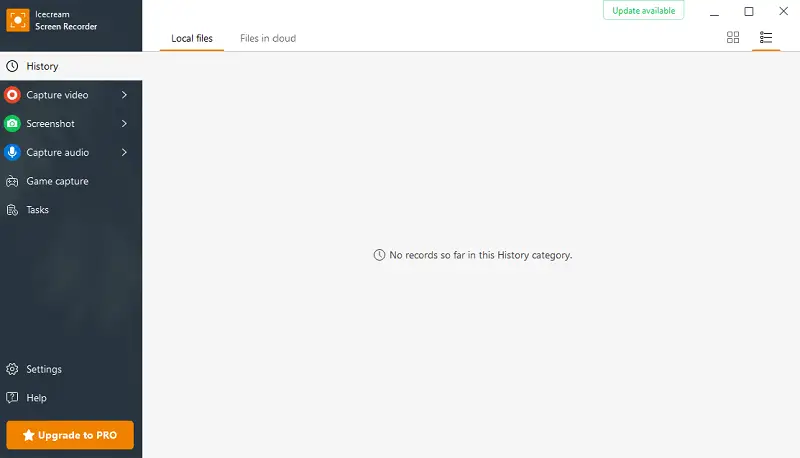
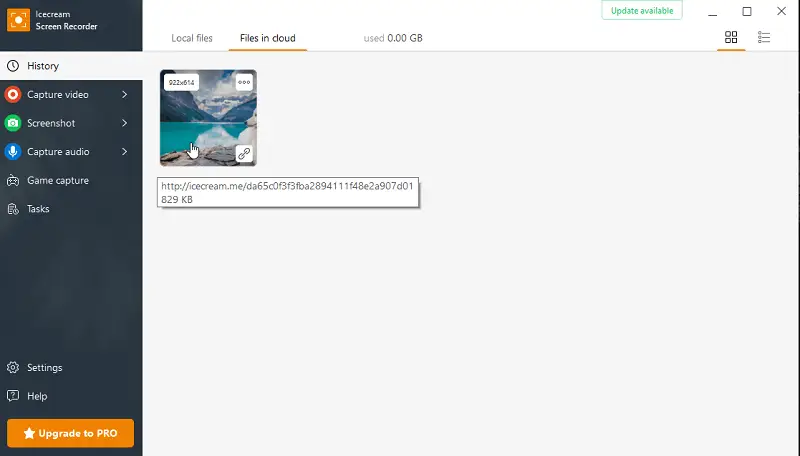
Each link you make will be saved in the program's history panel and you can access any of them from the main window. To delete a link from the history, click the recycle bin icon to the right of each file's title. The "Clear History" in the bottom left corner will help you remove all the files from the list.
Screenshot areas
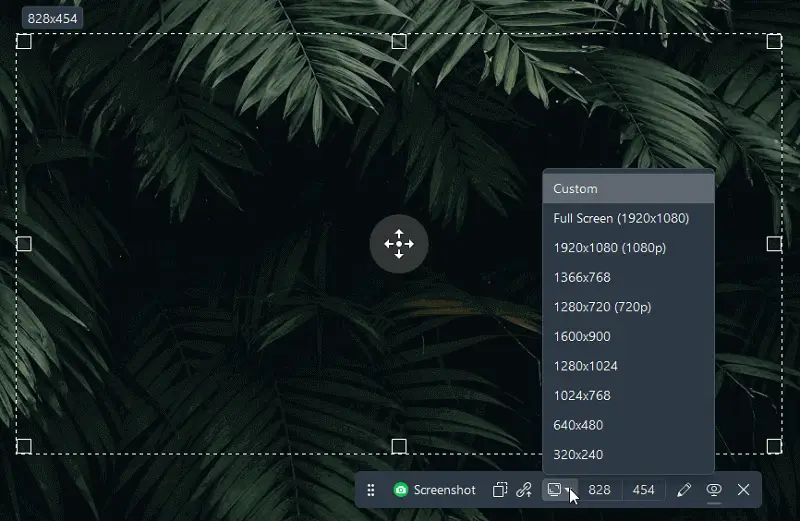
Using Icecream Screen Recorder, you can screenshot any area of your desktop. Thus, you don’t have to crop a full-screen image later; this means you don’t need to opt for third-party editors. To make a screenshot of a desired area, click "Screenshot".
Then, use your mouse to frame a necessary screenshot area. You can select a random area and move the frame manually according to your needs ("Custom"). Otherwise, choose one of the available preset profiles (Full screen, 960p, 720p, 1024x768p, 640x480p, 320x240p, or 160x120p).
Screenshot editing tools
Utilize the special editing tools available in the screenshot panel to refine your screen capture before finalizing it.
Particularly, you can check the graphic elements available through the drawing panel to point out, add watermark, underline, frame, or comment on your screenshot.
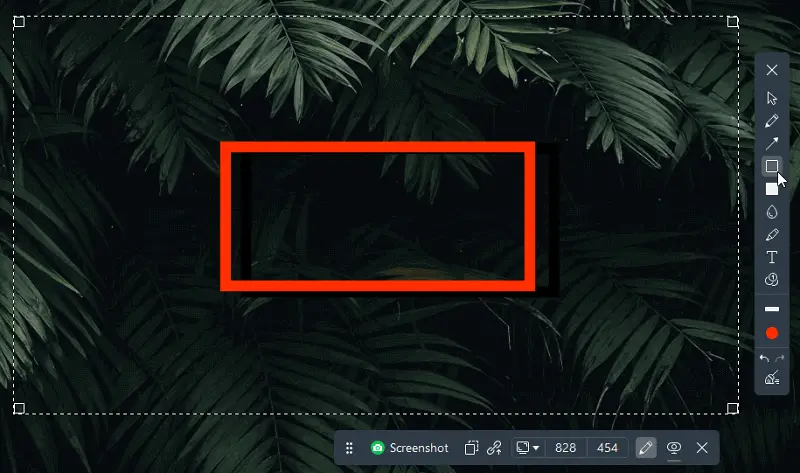
To do that, press the "Draw" button and select a drawing tool that you like: brush, oval, rectangle, step instrument for explainer videos, or arrow. After that, you can choose the thickness and color of a selected element and start drawing on the screenshot.
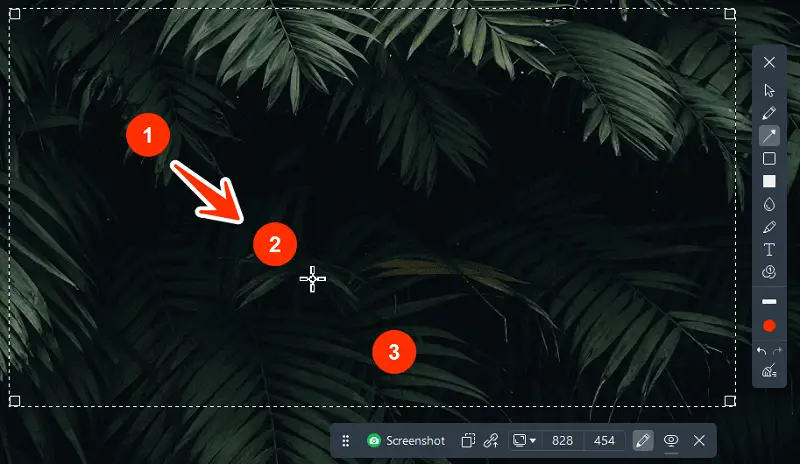
If you want to type some text over your desktop screenshot, click the "T" icon, pick font size (8-34) and color, and place the cursor where you need your content to be typed. Add the desired text and proceed forward.
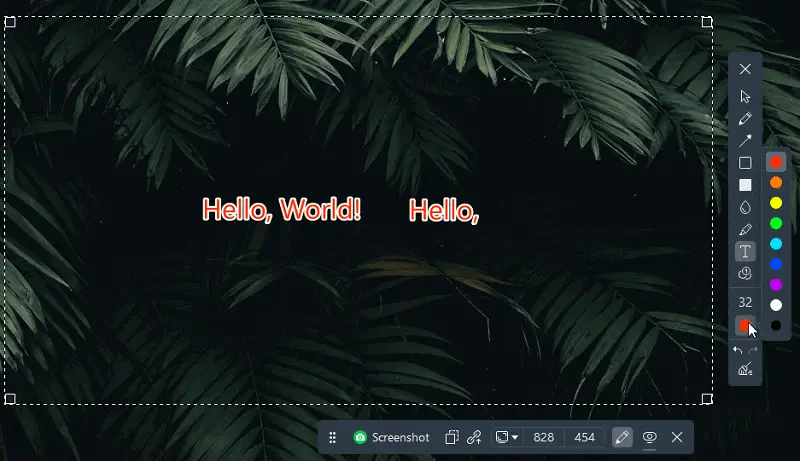
To cancel the recent changes, use the "Undo" icon at the right side of the control panel; if you need to erase all the progress at once, tap the "Clear all" button.
Option 2. The Snipping Tool
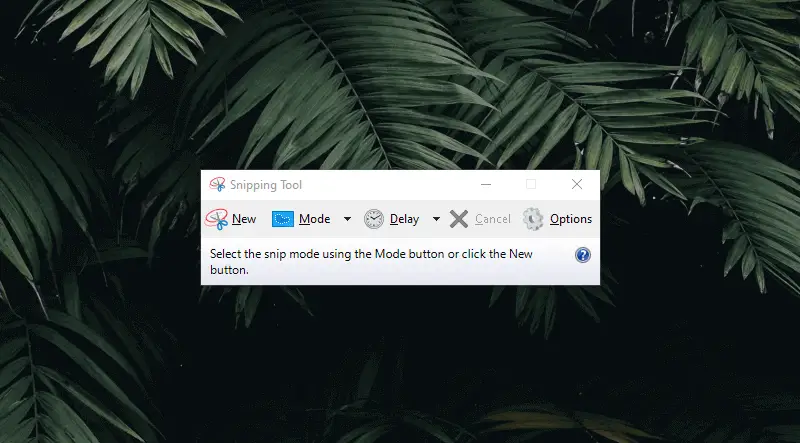
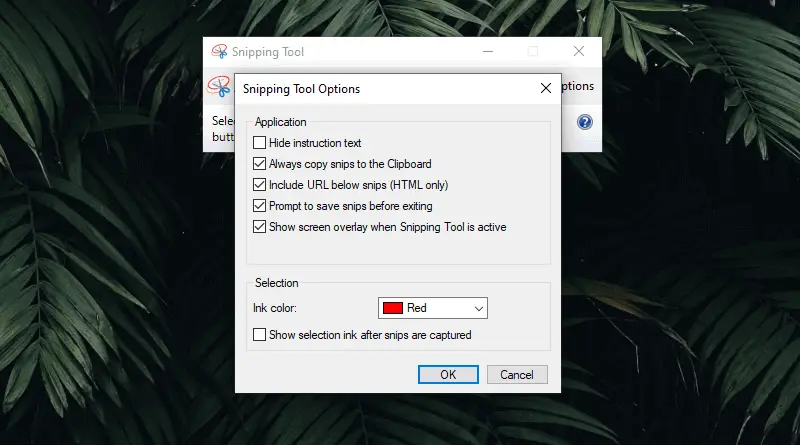
The Snipping Tool is a built-in screen capturing program in Windows 10, with basic annotation options (such as highlighting or obscuring parts of the image).
How to take a screenshot on PC in Snipping Tool
- Click the "Start" button, type "Snipping Tool", and select it. Alternatively press Win+Shift+S.
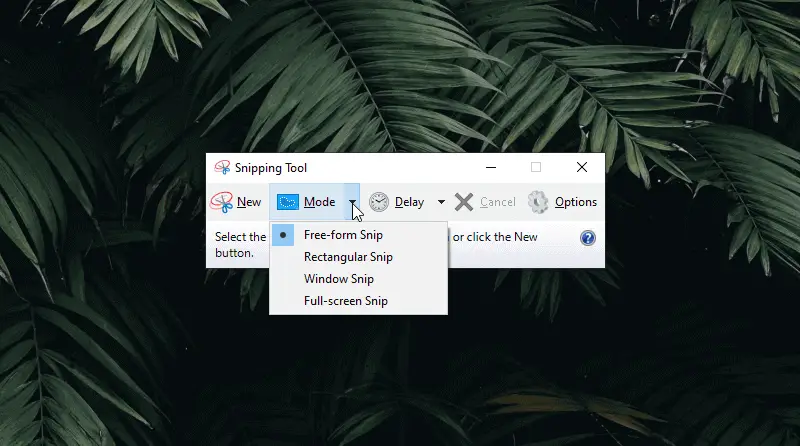
- Once the program is open, select the type of snip you would like to process: rectangular, free-form, window, or full-screen.
- After selecting the type, tap "New", your screen will freeze and display a white overlay. Drag your mouse to create the shape of your snip and when you release it, a screenshot will be captured.
- The Tool will be opened with your screenshot inside of it. From here you can draw arrows or highlight portions of the image with an eraser tool. And then preserve it as a picture file or share it with other programs.
- To get a desktop screenshot, click "Save" and choose where you'd like to keep it on your computer.
The Snipping Tool is straightforward and lets you quickly make a screenshot without the additional software. You can also rapidly annotate them with arrows and highlights, allowing you to explain what's happening on the screen.
Note that it is pre-installed on Windows 10 and 11. However, most of the following features can only be found on Windows 11.
Option 3. Hotkeys
The Print Screen (PrtScn) is a built-in feature on most Windows keyboards, designed to capture the entire contents of your screen at the moment you press the designated key.
This feature provides a straightforward method for catching what's displayed on your desktop without the need for extra screen capturing software.
How to print screen on Windows using hotkeys
- Press the PrtScn key on your keyboard. This will take a screen capture of the entire display.
- Open an application like Paint or another photo editor, and press Ctrl + V to paste the screenshot.
- Save the screenshot on your PC as needed.
Note: On some laptops, you may need to press "Fn" while "Print Screen" is active.
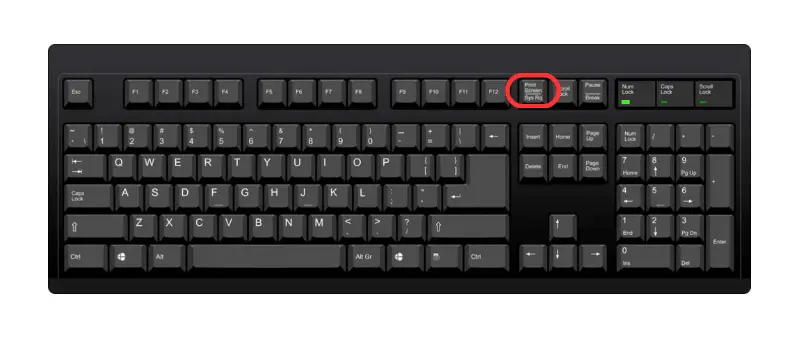
Other combinations:
- Windows Key + PrtScn. Captures the entire screen and saves the image directly to the "Screenshots" folder. The screen will briefly dim to indicate the screenshot has been taken.
- Alt + PrtScn. Captures only the currently active window and copies the image to the clipboard. You can paste it into an image editor or document using Ctrl + V.
Using hotkeys is one of the easiest approaches to make a screenshot.
However, this option lacks customization functionality and won't work properly without adjusting your keyboard settings. Also, there is no selection of the screen record area - all output images will be full-screen.
Option 4. Game Bar
The Windows 10 Game Bar is a great tool for taking screenshots and recording the gaming process. It's easy to use and can save you time when you need to quickly capture your PC activities.
How to screenshot on Windows computer by means of Game Bar
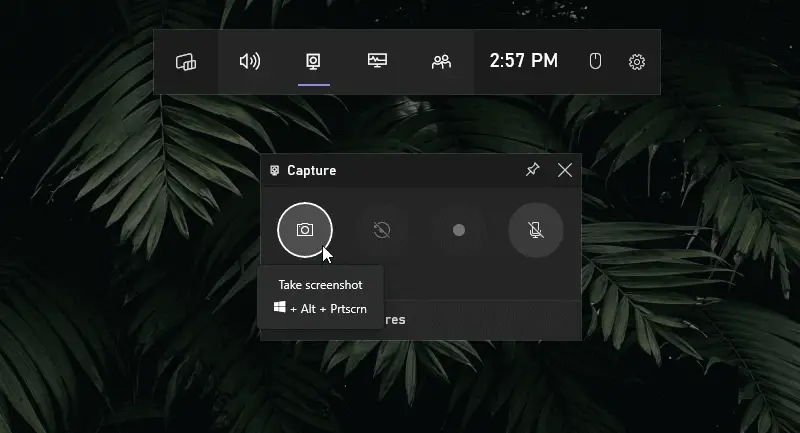
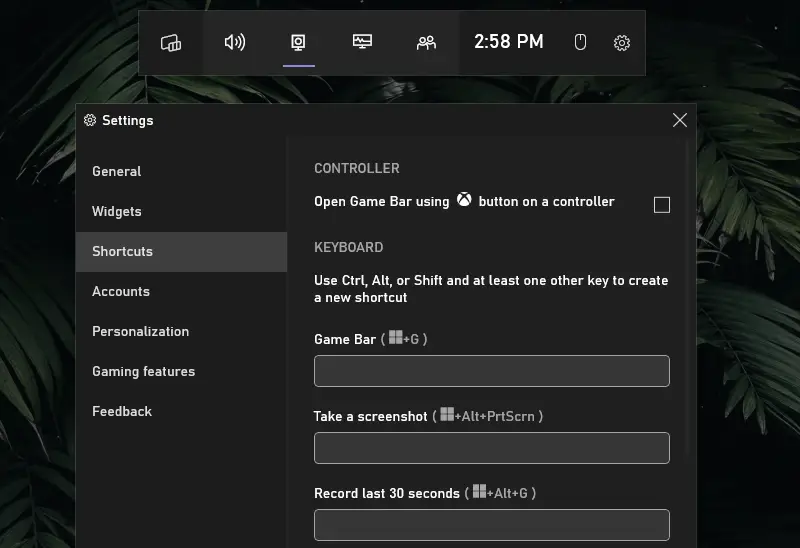
- Press the Windows key + G on your keyboard to open the Game Bar.
- In the menu click "Capture". Hit the camera icon to screenshot the computer screen.
- Your screenshot will be kept in the Videos > Captures folder in the Pictures library.
Utilizing the Game Bar is rapid and effortless. So if you want to capture a screenshot of something in your game without interruption or departure, this delivers a hassle-free solution do it. The downside is that the resulting file is only PNG, so if you need JPG or PDF, you have to convert it.
Option 5. Greenshot
Greenshot is a lightweight tool that offers more flexibility than built-in utilities. It allows you to quickly capture selected areas, windows, or the full display and immediately annotate or save your image.
How to screenshot on Windows computer with Greenshot
- After installing the app, locate its icon in the system tray (bottom-right corner of your screen).
- Press PrtScr on your keyboard. A crosshair will appear.
- Click and drag to select the area of the screen you want to capture.
- After releasing the mouse button, a context menu will appear. Choose to save, copy to clipboard, open in image editor, or send directly to a program like Word or Outlook.
- By default, screenshots are saved in the Pictures folder or a custom location if configured in Greenshot settings.
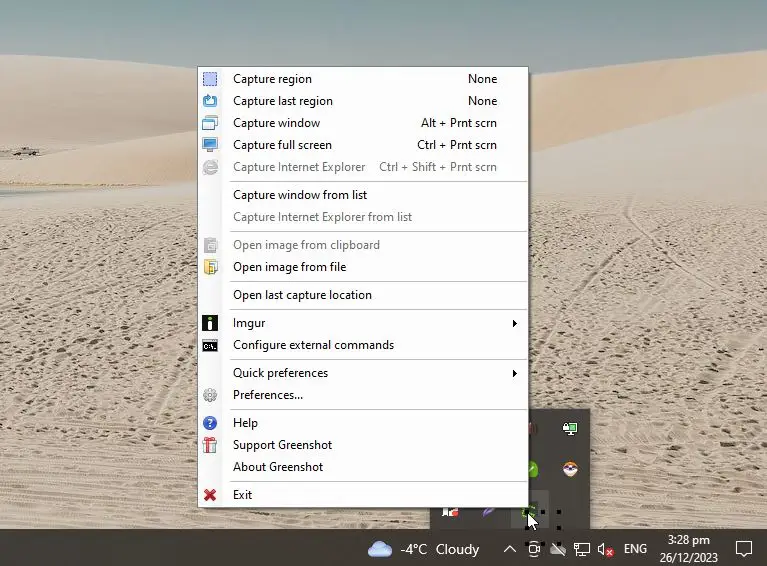
Greenshot is ideal for those who need more than just a quick picture. Its built-in editor and direct export options make it a practical choice for documentation, reporting, or daily productivity. One limitation: it doesn’t support screen recording—only still images.
Screenshot on Windows: FAQ
- Can I take screenshots using voice commands or other alternative methods?
- Windows unfortunately does not natively support taking screenshots by voice, but there are third-party tools and assistant integrations that let you do this.
- How do I make a screenshot on Windows if my keyboard doesn't have a Print Screen key?
- If your keyboard does not have a PrtScr key, you can often use a combination such as "Fn + Insert" or "Fn + F12" to emulate the Print Screen function.
- How do I capture screenshots in Windows Safe Mode?
- Capturing screenshots during system startup can be challenging since many screen capture utilities may not be available in these environments. In such cases, third-party screen recorders specifically designed for system-level operations may be necessary.
- How do I take a screenshot of the taskbar?
- Use the Windows + Shift + S combination, then select the area that includes the taskbar.
- What is the difference between Snipping Tool and Snip & Sketch?
- Snip & Sketch is a recent app proving more options, including quick markup features and integration with Windows notifications.
- Can I customize the screenshot keyboard shortcuts?
- There is no option to change default shortcuts, which are Windows + PrtScn and Windows + Shift + S. However, there are a few third-party apps you can try that do allow you to change these shortcuts.
- How do I take a screenshot in tablet mode on Windows 10 or 11?
- You can use Windows Key + Volume Down if you have a physical button. If your device has a touchscreen, use Windows Key + Shift + S.
- Can I take screenshots using voice commands on a Windows PC?
- Yes, you can use Windows Voice Control. Simply say, "Take a screenshot," and the system will capture the display. You may need to set up voice commands through the Ease of Access settings.
How to screenshot on Windows: bottom line
In conclusion, learning how to take a screenshot on a Windows PC means the world for the users.
Whether you opt for the simplicity of the Print Screen key, the versatility of the Snipping Tool, or the advanced features of third-party applications like Icecream Screen Recorder, the ability to effortlessly capture and edit screenshots is an invaluable skill.
With these tools and techniques, it has never been easier to capture exactly what you want. Now you can take a screenshot on a PC in no time with this guide!


