Screen Recording Settings for Perfect Video Output
Screen recording settings can make the difference between a crisp, professional-looking video and one that’s grainy, choppy, or too large to share easily so that you will need to make these videos smaller.
Understanding resolution, frame rate, audio quality, and file formats ensures your clips are tailored to your purpose—whether it’s creating tutorials, capturing gameplay, or preserving meetings.
In this guide, we’ll break down each key parameter, explain how it affects your final video, and show you how to choose the best combination for your needs.
Screen recording resolution
When you open any screen recorder, one of the first things you’ll notice in the settings menu is the option to adjust resolution.
This determines how many tiny points—known as pixels—form your video. More pixels create a sharper, more detailed picture, but they also increase the amount of storage required.
Common parameters
720p (HD) – 1280×720 pixels
Good choice for quick captures, compact tutorials, or situations where a smaller file is more important than ultra-high detail.1080p (Full HD) – 1920×1080 pixels
A balanced option for educational and training videos, software demonstrations, and everyday needs.4K (Ultra HD) – 3840×2160 pixels
Best suited for professional-grade projects, high-quality game footage, or archiving visuals with maximum precision.
| Resolution | Visual Sharpness | Suitable For | Storage Requirement |
|---|---|---|---|
| 720p | Moderate | Lightweight guides, email-friendly clips | Low |
| 1080p | High | Presentations, social media uploads | Medium |
| 4K | Exceptional | Commercial content, cinematic edits | High |
Icecream Screen Recorder allows you to set a custom capture size, letting you record exactly the portion of the display you need. This can streamline post-production and keep sizes manageable.
Frame rate for screen recording
Frame rate per second defines how many individual images (frames) are shown each second in your video. A higher rate creates smoother motion, while a lower one can appear choppy but reduces processor demand.
Think of it as a flipbook: the faster you flip the pages, the more fluid the animation looks.
Common options
24 FPS
The traditional cinematic speed, giving recordings a film-like feel. Works well for slow-paced content or stylized projects.30 FPS
A popular setting for tutorials, general presentations, and most web uploads. Strikes a practical balance between smoothness and data use.60 FPS
Delivers ultra-smooth playback, ideal for gaming footage, sports clips, or anything with fast on-screen action.
| Frame Rate | Smoothness Level | Recommended Cases | Data Load |
|---|---|---|---|
| 24 FPS | Moderate | Film-style videos, slideshows | Low |
| 30 FPS | High | Screen tutorials, online lessons | Medium |
| 60 FPS | Very High | Gameplay, dynamic visual demos | High |
Pro tip:
Combining a suitable frame rate with the right resolution helps prevent performance drops, especially on lower-spec computers. For example, 1080p at 30 FPS is a reliable default for most projects.
Audio screen recording settings
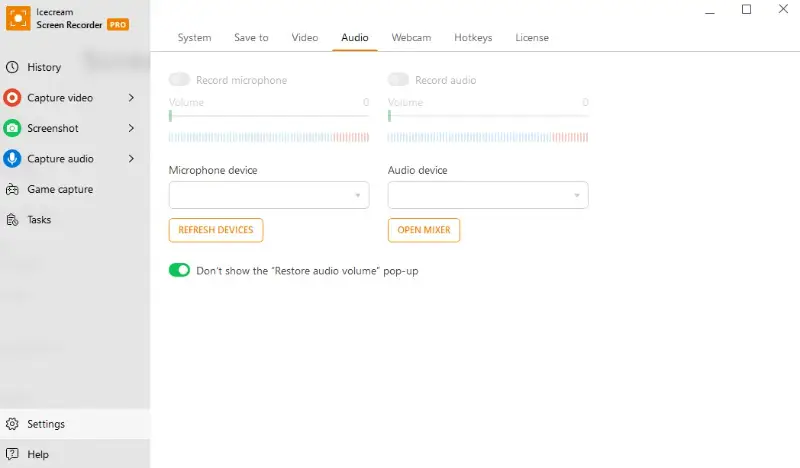
Good visuals lose impact without clear, balanced sound. Icecream Screen Recorder lets you capture both system playback and microphone input, ensuring your audience hears every word and detail.
Choosing the setup
| Goal | Suggested Settings |
|---|---|
| Voice-over tutorial | Microphone enabled, noise suppression on, system sound off |
| Game recording | Both mic and system sound enabled, moderate volume mix |
| Webinar capture | System sound enabled, mic optional, noise reduction active |
A quick trial session can help you fine-tune volumes so neither the voice nor background audio dominates.

File formats and codecs
Once your screen recording is complete, the way it’s saved affects both quality and compatibility.
Popular screen recording file formats
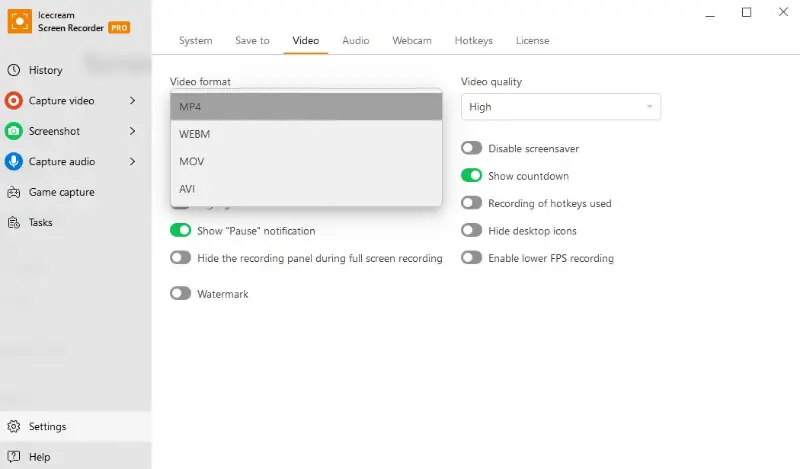
- MP4 – Highly versatile, works on most devices and platforms. Ideal for general-purpose tasks.
- MOV – Preferred for editing in Apple software, offering excellent quality with larger sizes.
- WEBM – Optimized for web delivery and smaller files, perfect for browser-based playback.
Understanding codecs
A codec compresses your video so it takes up less space without noticeably degrading quality.
Most screen recorders typically utilize H.264, a widely supported standard that balances clarity and size. Advanced users might also experiment with newer options like H.265 (HEVC) for even better results.
If you’re unsure which combination to pick, MP4 with the H.264 codec is a safe starting point—it offers smooth playback and works almost anywhere.

Balancing quality and size
Great-looking videos are rewarding, but overly large files can slow sharing, clog storage, or cause upload headaches.
Screen record settings that influence file size
- Resolution – Higher pixel dimensions improve detail but require more storage space.
- Frame Rate – More FPS creates smoother motion, yet also adds to the weight.
- Bitrate – Determines how much data is processed per second. Higher values mean better quality but larger outputs.
If your file is still too large, switch to a more efficient codec like H.265. This can significantly shrink the size without a noticeable drop in quality.
Example screen recording settings for different scenarios
| Scenario | Resolution | Frame Rate | Bitrate | Audio Setup | Format & Codec |
|---|---|---|---|---|---|
| Software tutorial | 1080p | 30 FPS | 6 Mbps | Mic on with noise suppression, system sound off | MP4 (H.264) |
| Online course lecture | 720p | 24 FPS | 4 Mbps | Mic on, system sound optional | MP4 (H.264) |
| Gameplay recording | 1080p–4K | 60 FPS | 12–20 Mbps | Mic and system sound enabled, balanced mix | MP4 (H.264 or H.265) |
| Business presentation | 1080p | 30 FPS | 5 Mbps | System sound on, mic optional | MP4 (H.264) |
| Social media short clip | 720p | 30 FPS | 3–5 Mbps | Mic optional, system sound on | MP4 (H.264) or WEBM |
| Live-stream preparation video | 1080p | 30 FPS | 5–8 Mbps | Mic on, system sound on, background noise filter | MP4 (H.264) |
| Technical demonstration | 1080p | 25–30 FPS | 6–8 Mbps | Mic on for explanations, system sound optional | MP4 (H.264) |
| Product review | 1080p | 30 FPS | 6–8 Mbps | Mic on, system sound optional | MP4 (H.264) |
| Webinar capture | 1080p | 30 FPS | 6–8 Mbps | Mic on, system sound on with adjusted levels | MP4 (H.264) |
| Time-lapse capture | 1080p | 24 FPS | 4–6 Mbps | No audio | MP4 (H.264) |
| Multi-monitor workflow demo | 1440p–4K | 30 FPS | 8–12 Mbps | Mic on, system sound on if needed | MP4 (H.264 or H.265) |
| Interview via video call | 1080p | 30 FPS | 6–8 Mbps | Mic on, system sound on, echo cancellation active | MP4 (H.264) |
| Mobile app emulation recording | 720p | 30 FPS | 3–5 Mbps | Mic optional, system sound on | MP4 (H.264) or WEBM |
Conclusion
Choosing the right screen recording settings is all about finding the balance between quality, file size, and performance.
By adjusting resolution, frame rate, audio options, and format to suit your purpose, you can ensure your clips look and sound exactly as intended.
With a bit of experimentation, you’ll develop a personal preset that operates flawlessly for your workflow—so you can focus on creating, not troubleshooting.


